
How to Choose a React Native UI Kit in 2026
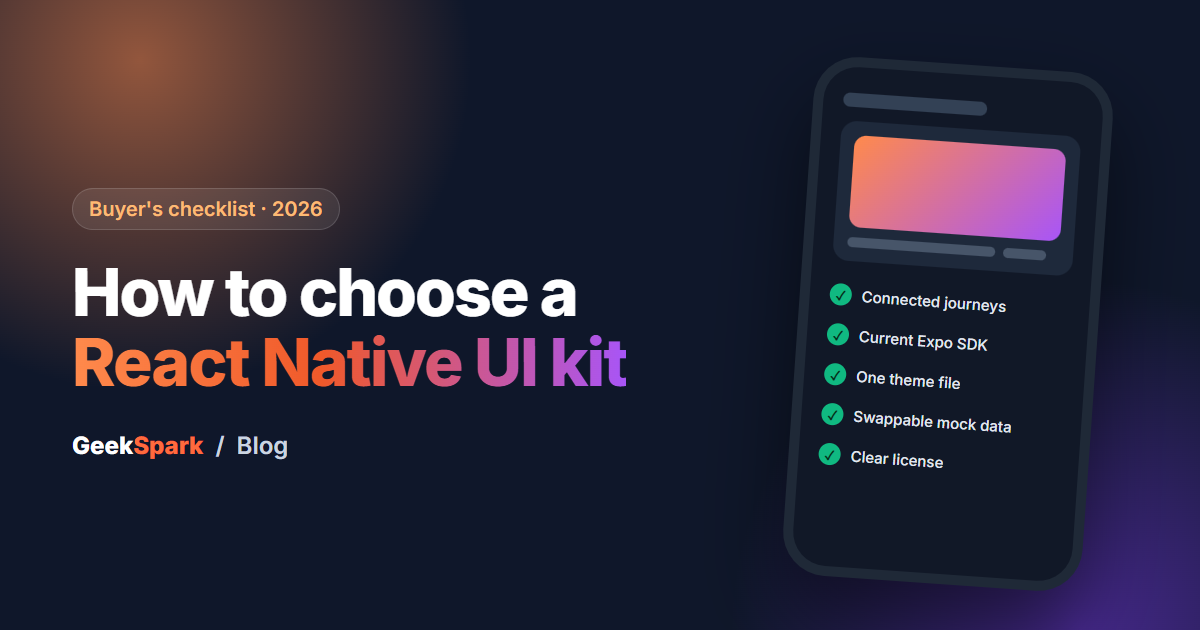
A good React Native UI kit can save you a month. A bad one can cost you two, because you only find its problems after your own code is wrapped around it.
We build and sell React Native kits ourselves, so take this with that in mind. But we have also bought plenty of kits over the years, for client work and for our own experiments, and the same mistakes come up every time. This is the checklist we use before we spend money on someone else's code. It works whether you buy from us, from CodeCanyon or from anyone else.
1. Look for journeys, not just screens
Most kits are sold with a grid of beautiful screenshots. Thirty screens, forty screens, sometimes more. The number tells you very little.
What matters is whether those screens are connected. Can you actually add a product to the cart, change the quantity, go to checkout, enter an address and land on a confirmation screen? Or is each screen a separate picture that you will have to wire together yourself?
A kit with 20 screens that form three complete journeys is worth far more than 60 screens that don't talk to each other. When you watch the demo video or open the live preview, follow one task from start to finish. If the demo keeps jumping between unrelated screens, that is usually why.
2. Check the Expo and React Native versions, and the last update
React Native moves quickly, and Expo releases a new SDK several times a year. A kit built on an SDK that is two or three versions behind is not useless, but upgrading it becomes your job, and upgrades are rarely the fun part of a project.
Before buying, find three things:
- The Expo SDK or React Native version the kit uses today.
- The date of the last update. A changelog is the best sign here. Regular small updates are better than one big release two years ago.
- Whether the seller says how they handle new SDK releases. You don't need a promise of instant updates, just evidence that they happen.
If none of this is written on the product page, ask. A seller who can't tell you which version their own kit runs on is telling you something.
3. TypeScript and a structure you can read
You are going to live inside this code for months. It should feel like a project someone planned, not a demo that grew.
Things we look for:
- TypeScript. It catches a whole class of mistakes while you rename, move and delete things, which is exactly what you do to a kit in the first week.
- Screens, components and data kept apart. A
componentsfolder full of small reusable pieces is a good sign. Five 900-line screen files are not. - Common, well-known libraries. React Navigation or Expo Router for navigation, a mainstream state approach, standard icon sets. Clever custom solutions are fun to write and painful to inherit.
If the seller offers a file list or a few screenshots of the code, read them. Ten minutes here saves days later.
4. Theming should be one change, not a hundred
The first thing almost everyone does with a kit is make it look like their brand. Try to picture that job before you buy.
In a well-built kit, colours, fonts, spacing and corner radius live in one theme file. You change the primary colour once and the whole app follows. In a badly built one, #F05A2A is typed into 140 different files and you will find the last few only after launch.
Dark mode is a good test of this. If the kit supports dark mode properly, the theming is almost certainly done right, because dark mode is very hard to fake without a real theme system.
5. Mock data that is easy to replace
Every kit ships with fake data: sample products, sample users, sample messages. At some point you will swap that for your real API.
Good kits keep the fake data in one place, often a data or services folder, and screens ask for data through small functions. Replacing the mock with real network calls then means editing those functions, not every screen.
Bad kits hard-code sample data straight into the screen components. Ask the seller where the demo data lives. The answer tells you how big your integration work will be.
6. The details users actually notice
These rarely appear in screenshots, and they are what separates an app that feels finished from one that feels like a template:
- Text scaling. Turn up the font size in your phone's settings. Does the layout survive, or does text get cut off?
- Touch targets. Buttons and icons should be comfortably tappable, not tiny icons placed close together.
- Loading and empty states. What does a list look like before data arrives, or when there is nothing to show?
- Keyboard handling. Forms should scroll so the field you are typing in stays visible.
- Both platforms. Test on Android and iOS if you can. A kit that only ever ran on one simulator will surprise you on the other.
7. Read the license before you build a business on it
This is the part people skip, and it is the one that can actually hurt.
Most marketplaces sell two licenses. A regular license usually covers one end product that your users are not charged for, such as a company app or an internal tool. An extended license usually covers one end product that you sell, or that users pay to access, such as a paid app or a SaaS.
If you are building something you will charge for, check which license you need before you start, not after you launch. The difference in price is small compared with rebuilding on a different kit. You can read exactly how we handle this in our terms.
8. Support and updates: what is actually included
"Includes support" can mean very different things. Before buying, find out:
- How long support lasts, and whether you can extend it.
- What it covers. Usually that means bugs and setup questions, not custom features. That is fair, but it helps to know.
- How fast the seller replies. Recent replies in an item's comments or reviews are the best evidence you will find.
- Whether updates are free for the version you bought.
A realistic first week with a new kit
Here is roughly how we plan the first week after buying a kit for a client project. It keeps the work honest and shows early whether the kit was a good choice.
- Day 1: Run it on a real phone, not only a simulator. Change the theme to your brand colours, fonts and logo.
- Day 2: Delete every screen you won't use. A smaller codebase is easier to understand and update.
- Days 3–4: Replace the mock data with your real API, one feature at a time, starting with sign-in.
- Day 5: Make a first build for both platforms. With Expo, EAS Build makes this much easier than it used to be, and finding build problems early is far cheaper than finding them a week before launch.
If the kit fights you on day one or two, take that seriously. It rarely gets easier later.
Red flags we have learned to avoid
- No changelog, or a last update more than a year ago.
- A demo that is only a video, with no way to try the app.
- No mention of the React Native or Expo version anywhere.
- Colours and sample data typed directly into screen files.
- A license that is not explained on the product page.
- Reviews that mention slow or missing support.
The short version
Buy the kit that will be easiest to change, not the one with the most screens. Check that the flows connect, the versions are current, the theme lives in one place and the data is easy to swap. Read the license. Then spend your first week proving all of that on a real device.
If you are looking for a starting point, you can browse our React Native kits and Expo projects, or everything in Mobile Apps. Each listing states the version it runs on, what is included and how support works. If something isn't clear, ask us before you buy. We would rather answer a question than sell you the wrong kit.